
The standard included forms come with their signing locations already placed. A custom PDF you add to the session has none, so you place them yourself on the preview page. See Adding Custom PDF for how to upload the PDF.
Place the tags
On the preview page, the left panel lists the Signer Tags you can place: Signature, Initials, Name, Text Field, Calendar, Paragraph, Signing Date, Drop Down, Radio Button and Checkbox.
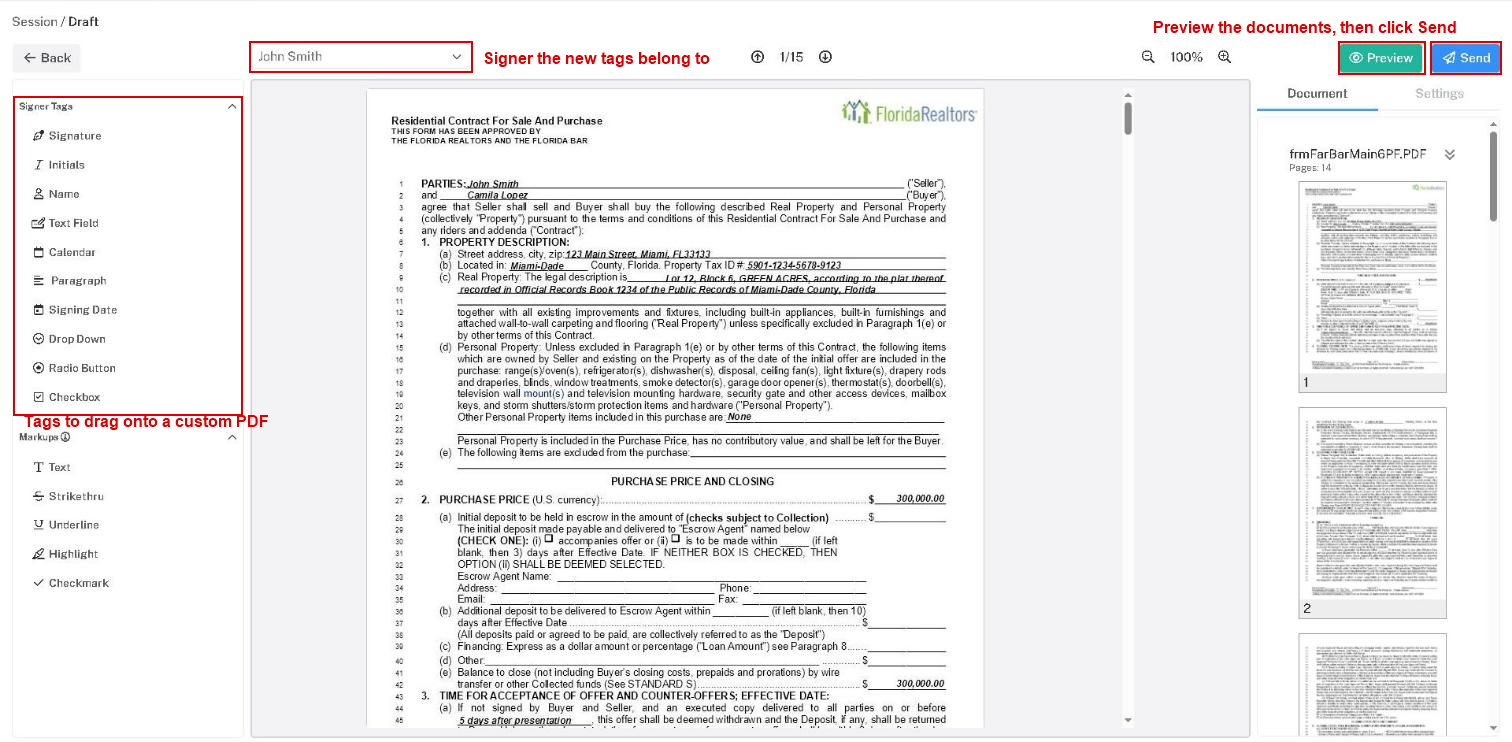
- Page to your custom PDF. The thumbnails on the right take you straight to any document and page.
- In the dropdown list at the top, choose the signer the location is for.
- Drag a tag from the panel onto the page and drop it where the signer should sign, initial or write.
- Repeat for each signer and each location.
Click a placed tag to move or resize it, to make it Required, Optional or Conditional in the Settings panel on the right, or to delete it with the trash icon.
Note: The standard forms already have their locations. Add tags to them only for an extra signature, date or initials the forms do not provide.
When every location is in place, click Preview to check the documents, then Send. See Preview and send.
Each signer's locations are in a different color.
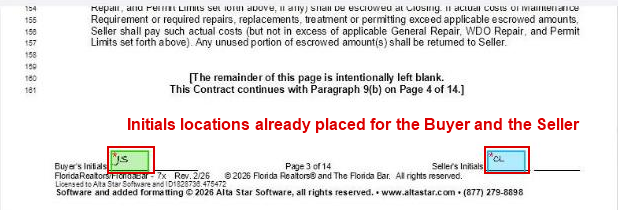
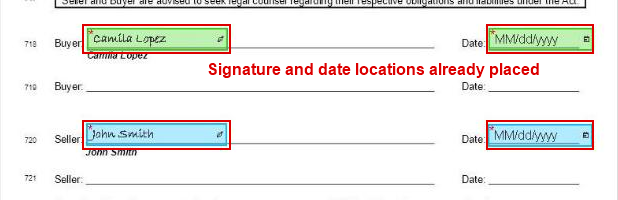
You only add locations yourself for a custom PDF you have included.